Prerequisite: York VPN
To access Rhino off-campus, you will need to connect to York’s VPN using Ivanti Secure. Please find the instructions for connecting to the VPN here, under the VPN tab.
NOTE: You may need to configure your Windows Firewall to ensure the the VPN connects to York University. As this may be your personal computer, its best to check your Firewall configuration.
Step 1: Check your system requirements prior to downloading Rhino
After making sure you are connected to the York VPN, determine which version of Rhino your computer is suited for.
Rhino 8 – https://www.rhino3d.com/8/system-requirements/
Rhino 7 – https://www.rhino3d.com/7/system-requirements/
Step 2: Download/Install Rhino
We are currently using Rhino 8 (Rhino 7 if your system is older). On the Rhino website downloads page, find Rhino 7 in the Archives section.
You will need to create a free Rhino account to download the installer. Create an account, log in, and then download the installer. Run the installer software and when Rhino has installed successfully, move on to Step 3
Step 3: Configure Rhino license
Once installed, open Rhino. You will be asked to enter a license. You only do this once when you first install Rhino.
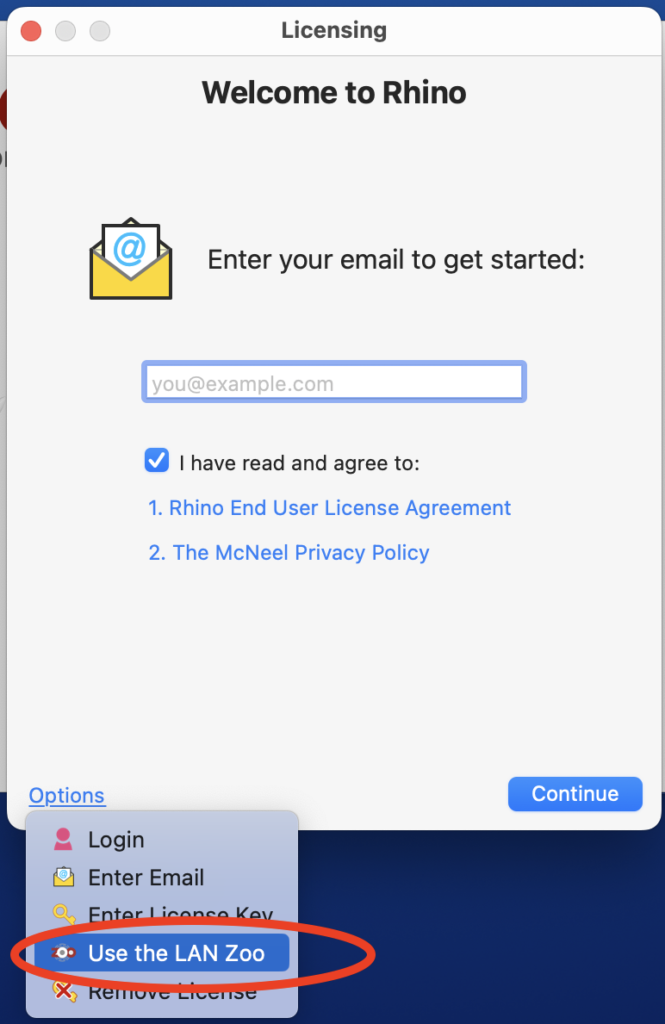
If this Licensing Window appears, click on the checkbox to the left of I have read and agree to: This will enable the blue Options button in the bottom left of screen. Click on the Options button and select Use the LAN Zoo.
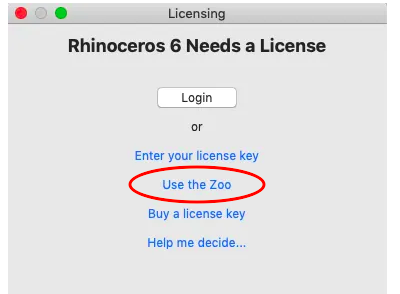
If this Licensing Window appears, click on Use the Zoo option
Enter the following IP address (atlantis.yorku.yorku.ca) in the Set Zoo Server window:
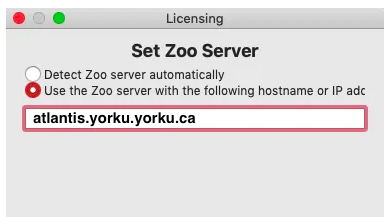
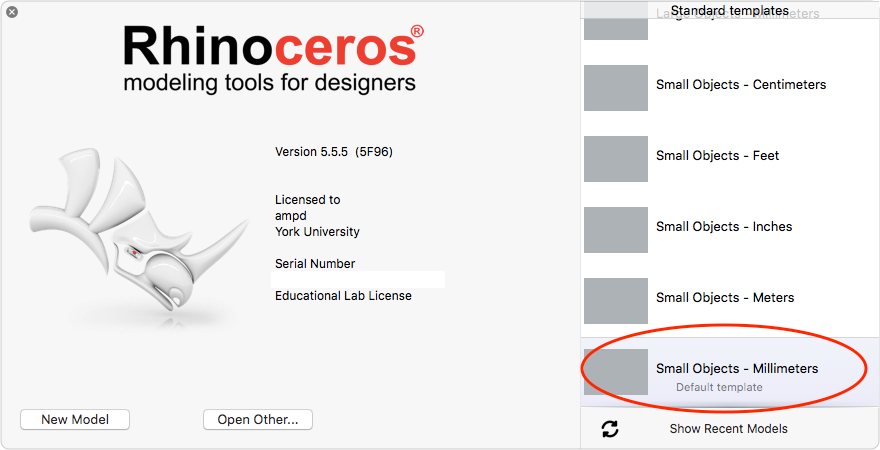
If the connection is successful, you will see the Rhino Splash Window. You can begin creating a new model
Step 4: Use Rhino
Once you have installed/setup and licensed Rhino to the correct Zoo server, you can begin to use Rhino. Remember, you must connect to Ivanti VPN first and then open Rhino for your remote connection to be successful.
Step 5 (Optional): Fix Rhino License
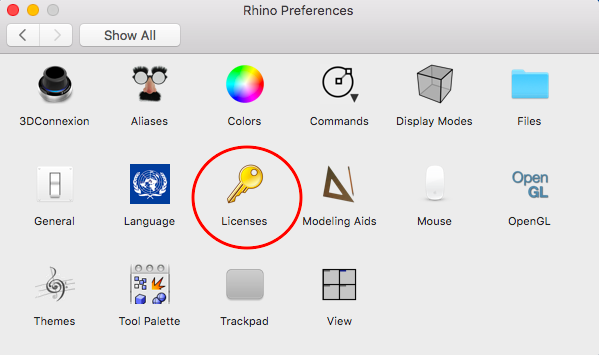
Inside Rhino, select Rhinoceros drop-down menu. Select Preferences
Select Licenses
Inside the License window, click on Change your license key button
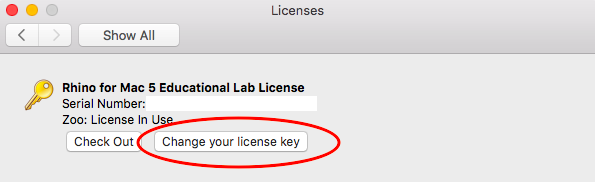
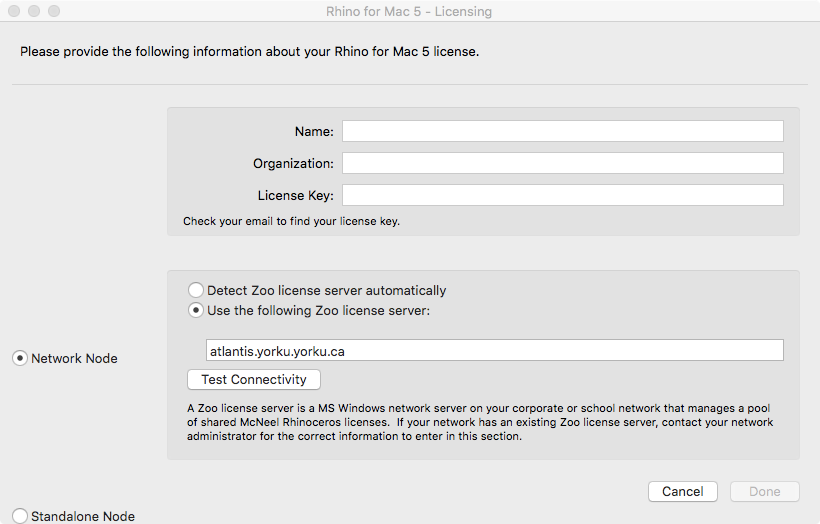
In the Rhino Licensing window, Select Network Node and Use the following Zoo license server. Enter the correct server address.